How do you do that?
What clay do you use?
What tools do you need for that?
 To answer the questions; I don't really know how to explain how I do it other than to say that it requires lots of patience, even more practice and a sense of humour for when it all goes wrong! As far as the clay, I almost exclusively use a combination of super sculpey, super sculpey firm & sometimes premo sculpey. The super sculpey (both types) comes in a 454g box of beige or grey clay which can be used on its own, however I find that I cannot see enough definition in the sculpt from using the beige sculpey on its own. I choose to mix a premo colour with the clay to provide a more suitable medium to see the creases and folds easier in the sculpting process. My choice is typically elephant grey, but you can choose any colour you wish to mix with the sculpey. (I buy the super sculpey firm in grey so no mixing with premo is necessary).
As far as the tools I use, they are a combination of a very good sculpting tool set that I purchased from hobby craft store in the UK for a very reasonable £18 and some home made tools that I have identified a need for over the years. I also use some artists colour shapers which can be bought from most good art suppliers. These are fantastic for smoothing out the sculpey where folds and lines have been made as they are much less harsh than a metal tool. As far as the home made tools are concerned, the simplest of them is the rolling pin, which is a 7 inch long small diameter steel rod. I have also made some home made strippers as I have not been able to find some of small enough size for the 120mm figures that I make. I also made some sculptors calipers for comparing distances/proportions for body shapes etc. Again these can be purchased but not in a small enough form for 120mm figure sculpting. I also use straight leg calipers from time to time as shown in one of the photos. I also use a 4" blade sharp lock knife (not shown in the images). This is used to cut through the sculpey blocks to make them into smaller chunks. Its not an essential piece of kit, but very handy all the same.
 |
| Tools purchased from hobbycraft |
 |
| Home made strippers, pin & base |
 |
| Colour shaper's used for fine detail |
 |
| Bought & Home made calipers |
As far as the armature stand that I use, I again had to make a my own out of necessity due to the size of figure that I sculpt. If you are interested in making your own, there are several DIY tutorials floating around the web. A difference from the ones you normally see to mine is that I used an old "fletcher trolley" tray that was being thrown out from where I work. Its essentially a heavy set steel box with a brass plate fitted to the bottom. I inverted it so that it is brass side upwards. This has doubled up as a heavy stable base for the stand as well as a great smooth surface to form shapes that I need during the sculpt.
 |
| Zippo lighter added to give size reference |
The other tools in the "arsenal" for my sculpting is a wooden base which started life as an electrical patress. This is used to mount the figure onto for baking in the oven to set the clay in between sculpts and a bottle of baby oil which acts as a solvent to sculpey. I usually brush this onto the sculpted areas to soften any sculpt lines and remove any finger prints from the surface prior to baking. I should point out that sculpey do manufacture their own solvent for this as well (I'm just a tight arse and use what I have available). I have also started to use an old tool of my daughter's from her card making phase; a "heat it up embossing power gun". Its essentially a small heat gun that's great for "flash baking" small items of sculpey without the need for baking in the oven. I will caution that judicious use of this can result in burning or charring of the sculpey if your not careful and I recommend placing the scupley that you want to "flash bake" on a tile to avoid damaging your desk with the heat. There are various small heat guns available from most general online stores such as ebay, amazon etc. Below is a picture of the one that I have:

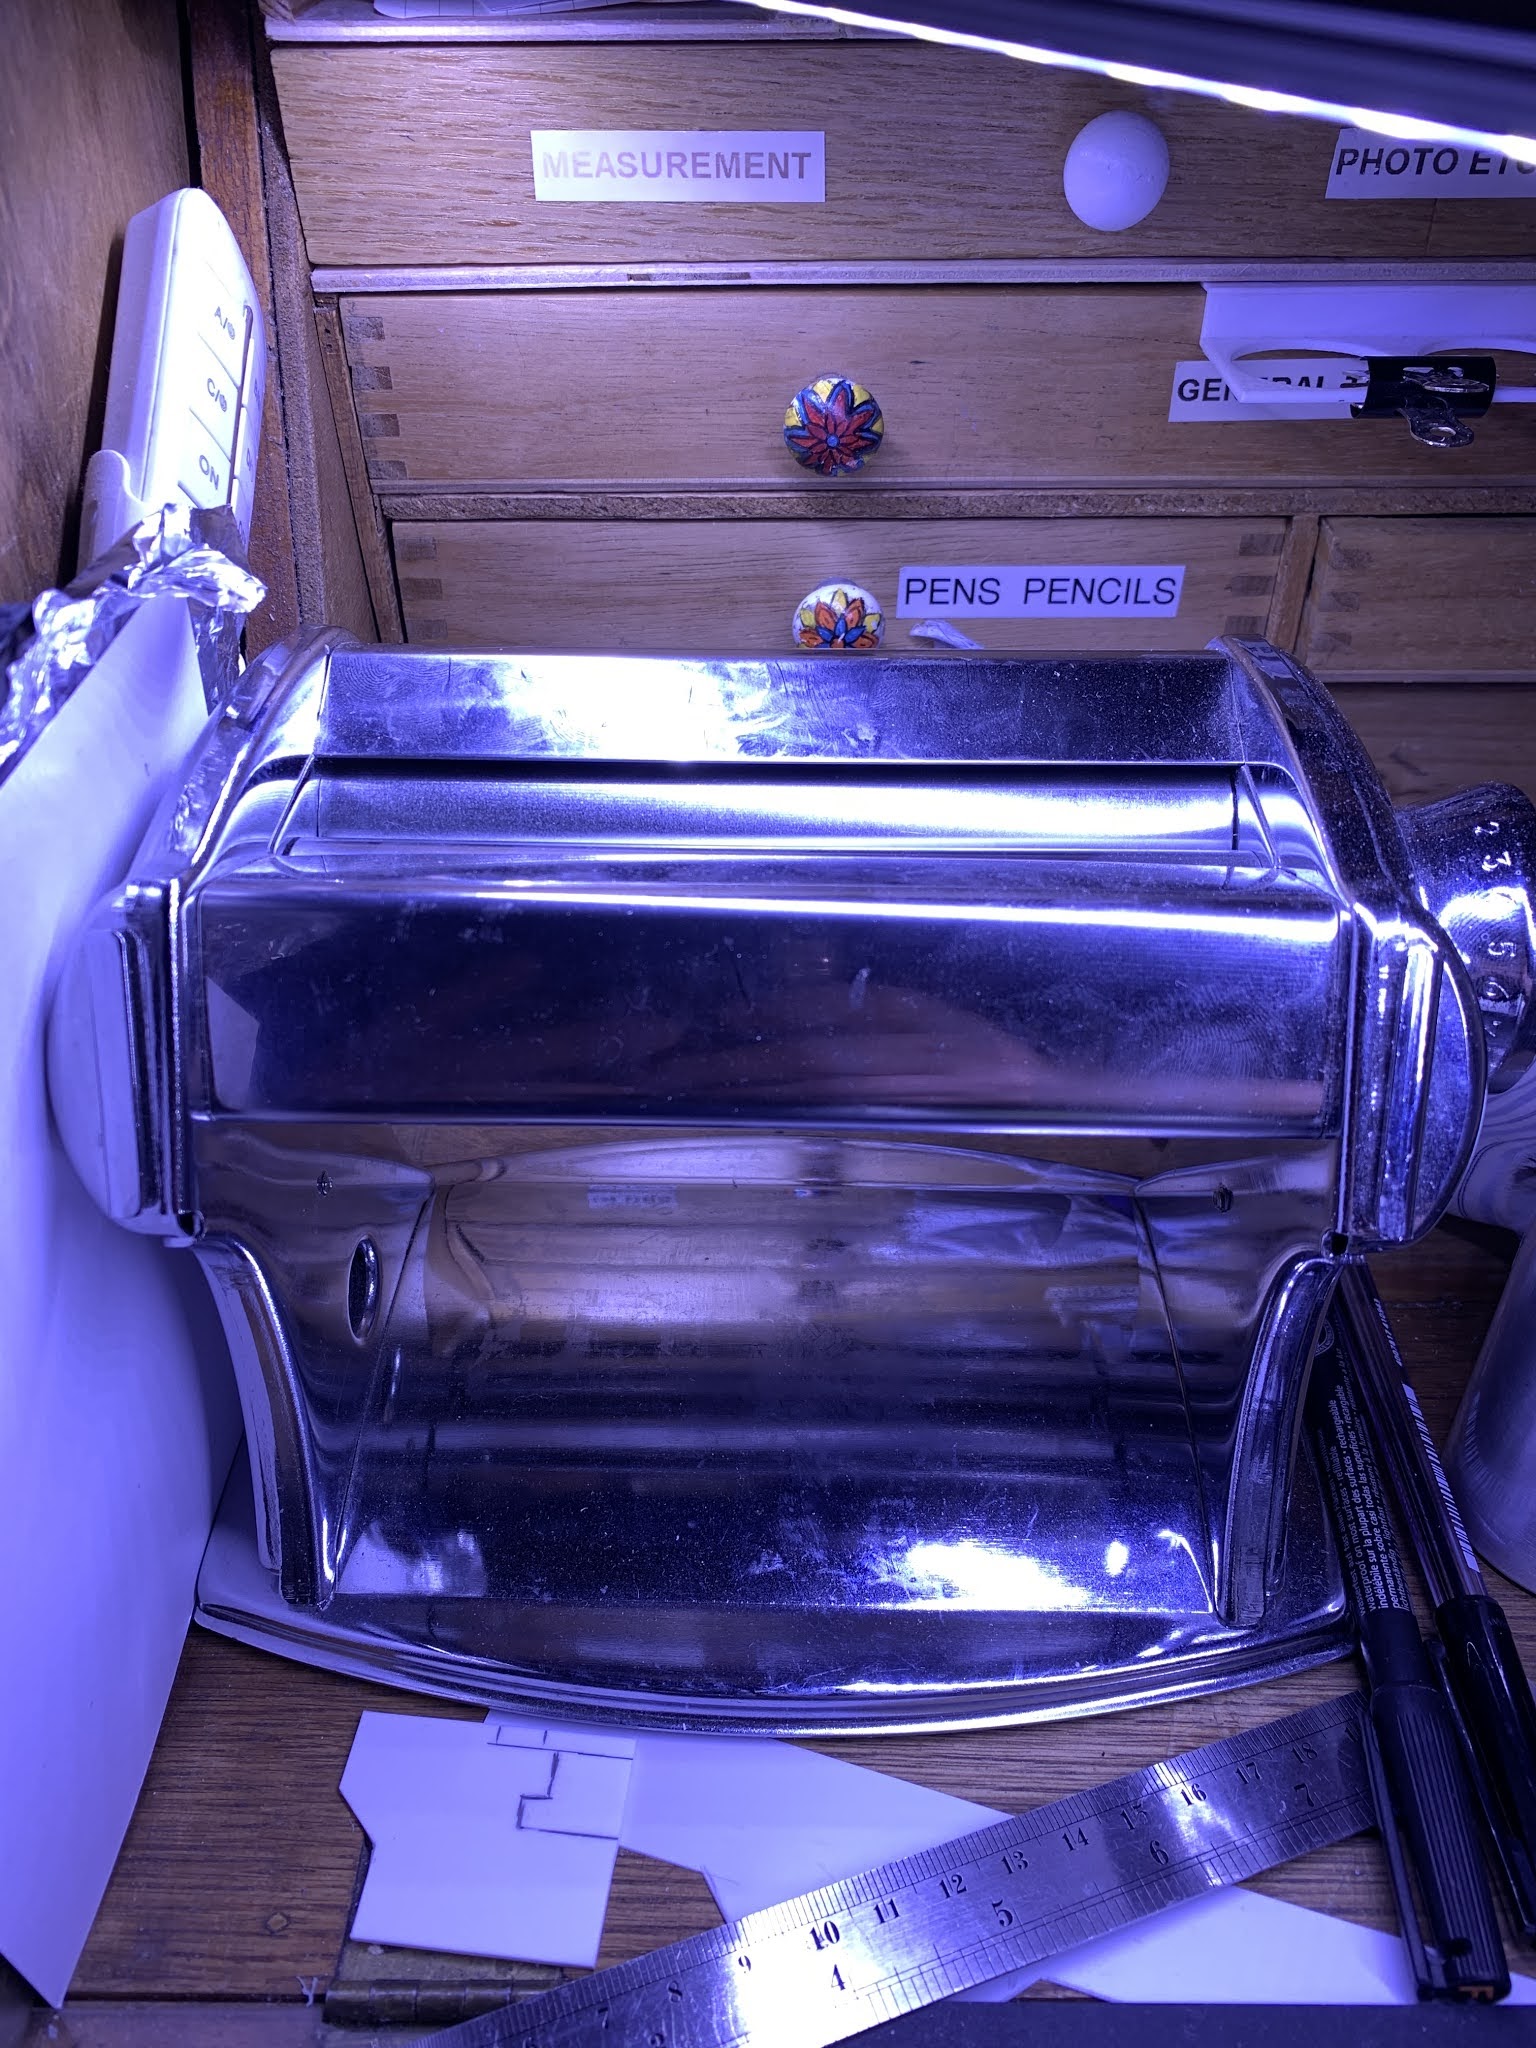
I have been sculpting intermittently for around 8 years and its been almost as long since I first wrote this post. I thought that I would provide a little update with regards to some of the tools that I use. Firstly I will say that I am still using all of the tools that I discussed in the original post however I do have some additions from some unsuspecting sources! One of the benefits of living with two women (they may read this post so I will add that there are loads of benefits and no downfalls whatsoever ;-) ), is that I see a great many "tools" that they use in the maintenance of beauty. Some of these "tools" have proved to be very effective for sculpting as well. The large silicone bladed tools in the photos are actually face mask applicators. They are supplied with a slight curve but a swift slice with a very sharp blade and they become very effective smoothing tools for large areas. The black handled tool is a tongue scraper however its also very good as a large rake tool for clay. Each tool cost me the princely sum of 99p and they are so effective! I have also invested in a 2nd hand pasta maker. This I think cost around the £25 mark but its proved invaluable for use with polymer clay. Running the clay through the pasta maker has a conditioning effect on it and makes it far easier to sculpt with. It has the added bonus of producing various thickness sheets of clay which again prove invaluable for sculpting clothes etc. I will continue to update this section of my website as I accumulate or replace tools/equipment so that you get to see the exact tools that I use to produce my figure sculpts.


The last "essential" tool that I would recommend to anyone is Knowledge! Watch lots of videos, read lots of books and articles, speak to people who use sculpey, etc. This really is part of the hobby that you will always improve on the more you know. I am very much still a beginner but love everything about it so far.
One of the best books that I have read so far (in my opinion) is "beginners guide to sculpting characters in clay". The title is a little misleading as I assumed that this would only cover characters as the title suggests; however after flicking through the book before I decided on purchasing, the author covers everything from basic tools to human anatomy to sculpting techniques and then using a number of very different sculpts provides an excellent tutorial on sculpting. Here's a photo of the cover and one of the ISBN if you are thinking of getting a copy:


So that's it. This is a virtual complete breakdown of all of the tools that I use to sculpt any of the figures shown on this blog. I hope that you found some of this information useful and that if you don't sculpt already, you will give it a go. Oh and a final piece of advice: keep a sense of humour. You will make mistakes; you won't make a perfect sculpt on the first try and you will always see flaws in your work that maybe others can't. Please remember that its a hobby and is something to be enjoyed; especially when you make a cock-up because that means that you have learned something new and won't repeat the same mistake.
Enjoy and have fun.
 |
| tools wrapped up and ready for use once more |
No comments:
Post a Comment